Happy National Photo Month!
Happy National Photo Month!
It’s National Photo Month, and we’re showing you how to take those prized photographs to the next level with Photo Tape Transfers. Surprisingly easy and lots of fun – this personalized and highly addictive craft will definitely get your creative juices flowing.
Your Chance to #Win…
Head on over to our Seal-It Facebook page, “LIKE” this post – and you could WIN a pair of Bandits AND this Polaroid Instant analog camera!
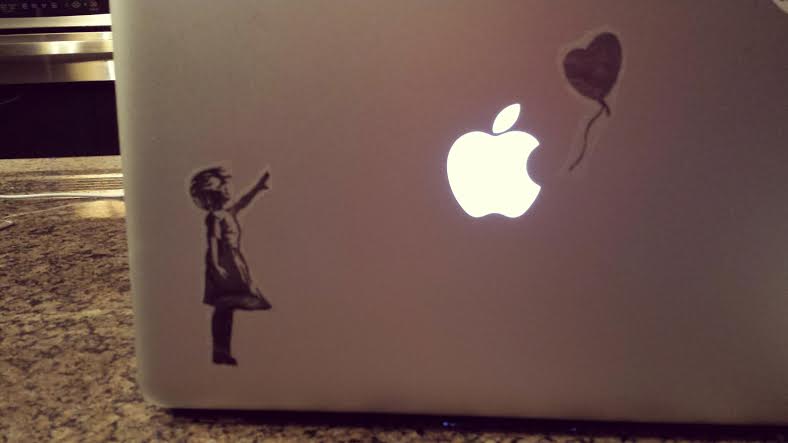
Use your transfers to decorate a scrapbook, make your own branded greeting cards, create DIY wall decor or simply add some flare to those everyday household items that could use a little pick me up.
Follow these few simple steps to create a new masterpiece from you picture perfect moments:
What you’ll need:
-
Your favourite photos (photocopy of an image or printouts from a laser printer work best)
-
Scissors
-
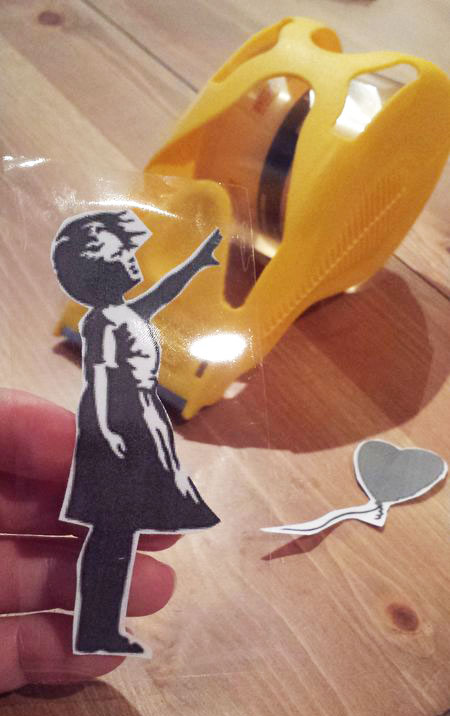
Your Bandit tapegun
-
Bowl of warm water
-
A little imagination

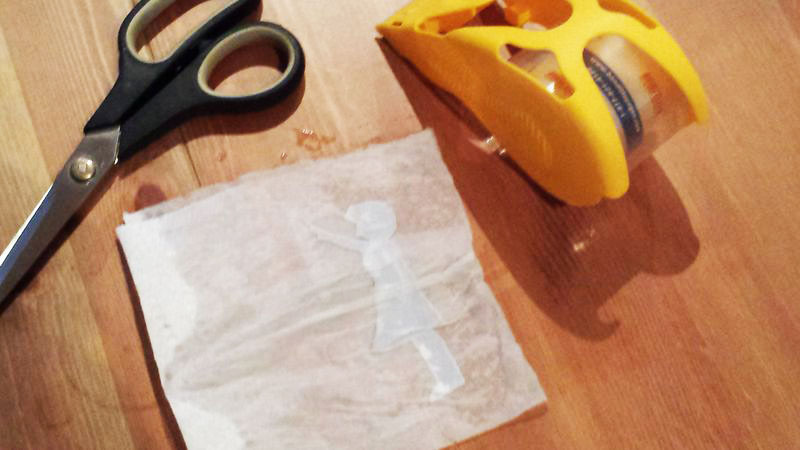
1.. Cut away any excess paper from around your image that you don’t want to appear in your transfer. Ripping the paper can give a fun “imperfect edge” effect.
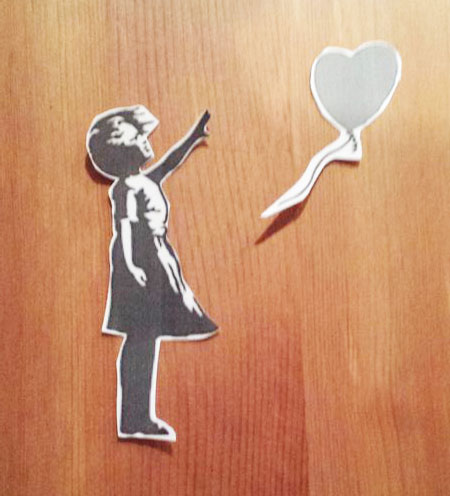
2. Firmly place a piece strip of Bandit tape over the image. Cover all areas you want to transfer. For larger surfaces, use multiple strips of tape
3. Soak the tape with your image attached in a small bowl of warm water for about five minutes.
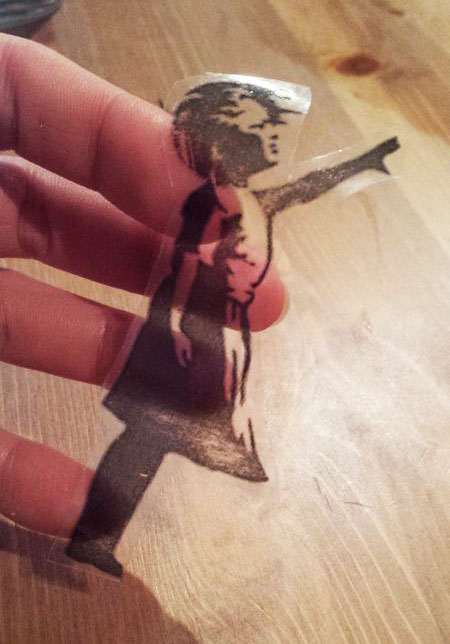
4. Use your fingers to rub the pulpy paper away from the sticky side of the tape. It will peel off, leaving you with your personal photo transfer. Allow to dry (don’t worry, your Bandit tape will retain its stickiness!). Cut away excess tape and apply to surfaces as desired.
Show us your creations by sharing with us @BanditTapegun on twitter!