DIY Dry Erase Calendar
DIY Dry Erase Calendar
It’s September, which means back to school and back to schedules. Here’s a simple project that will keep you sane this hectic season.
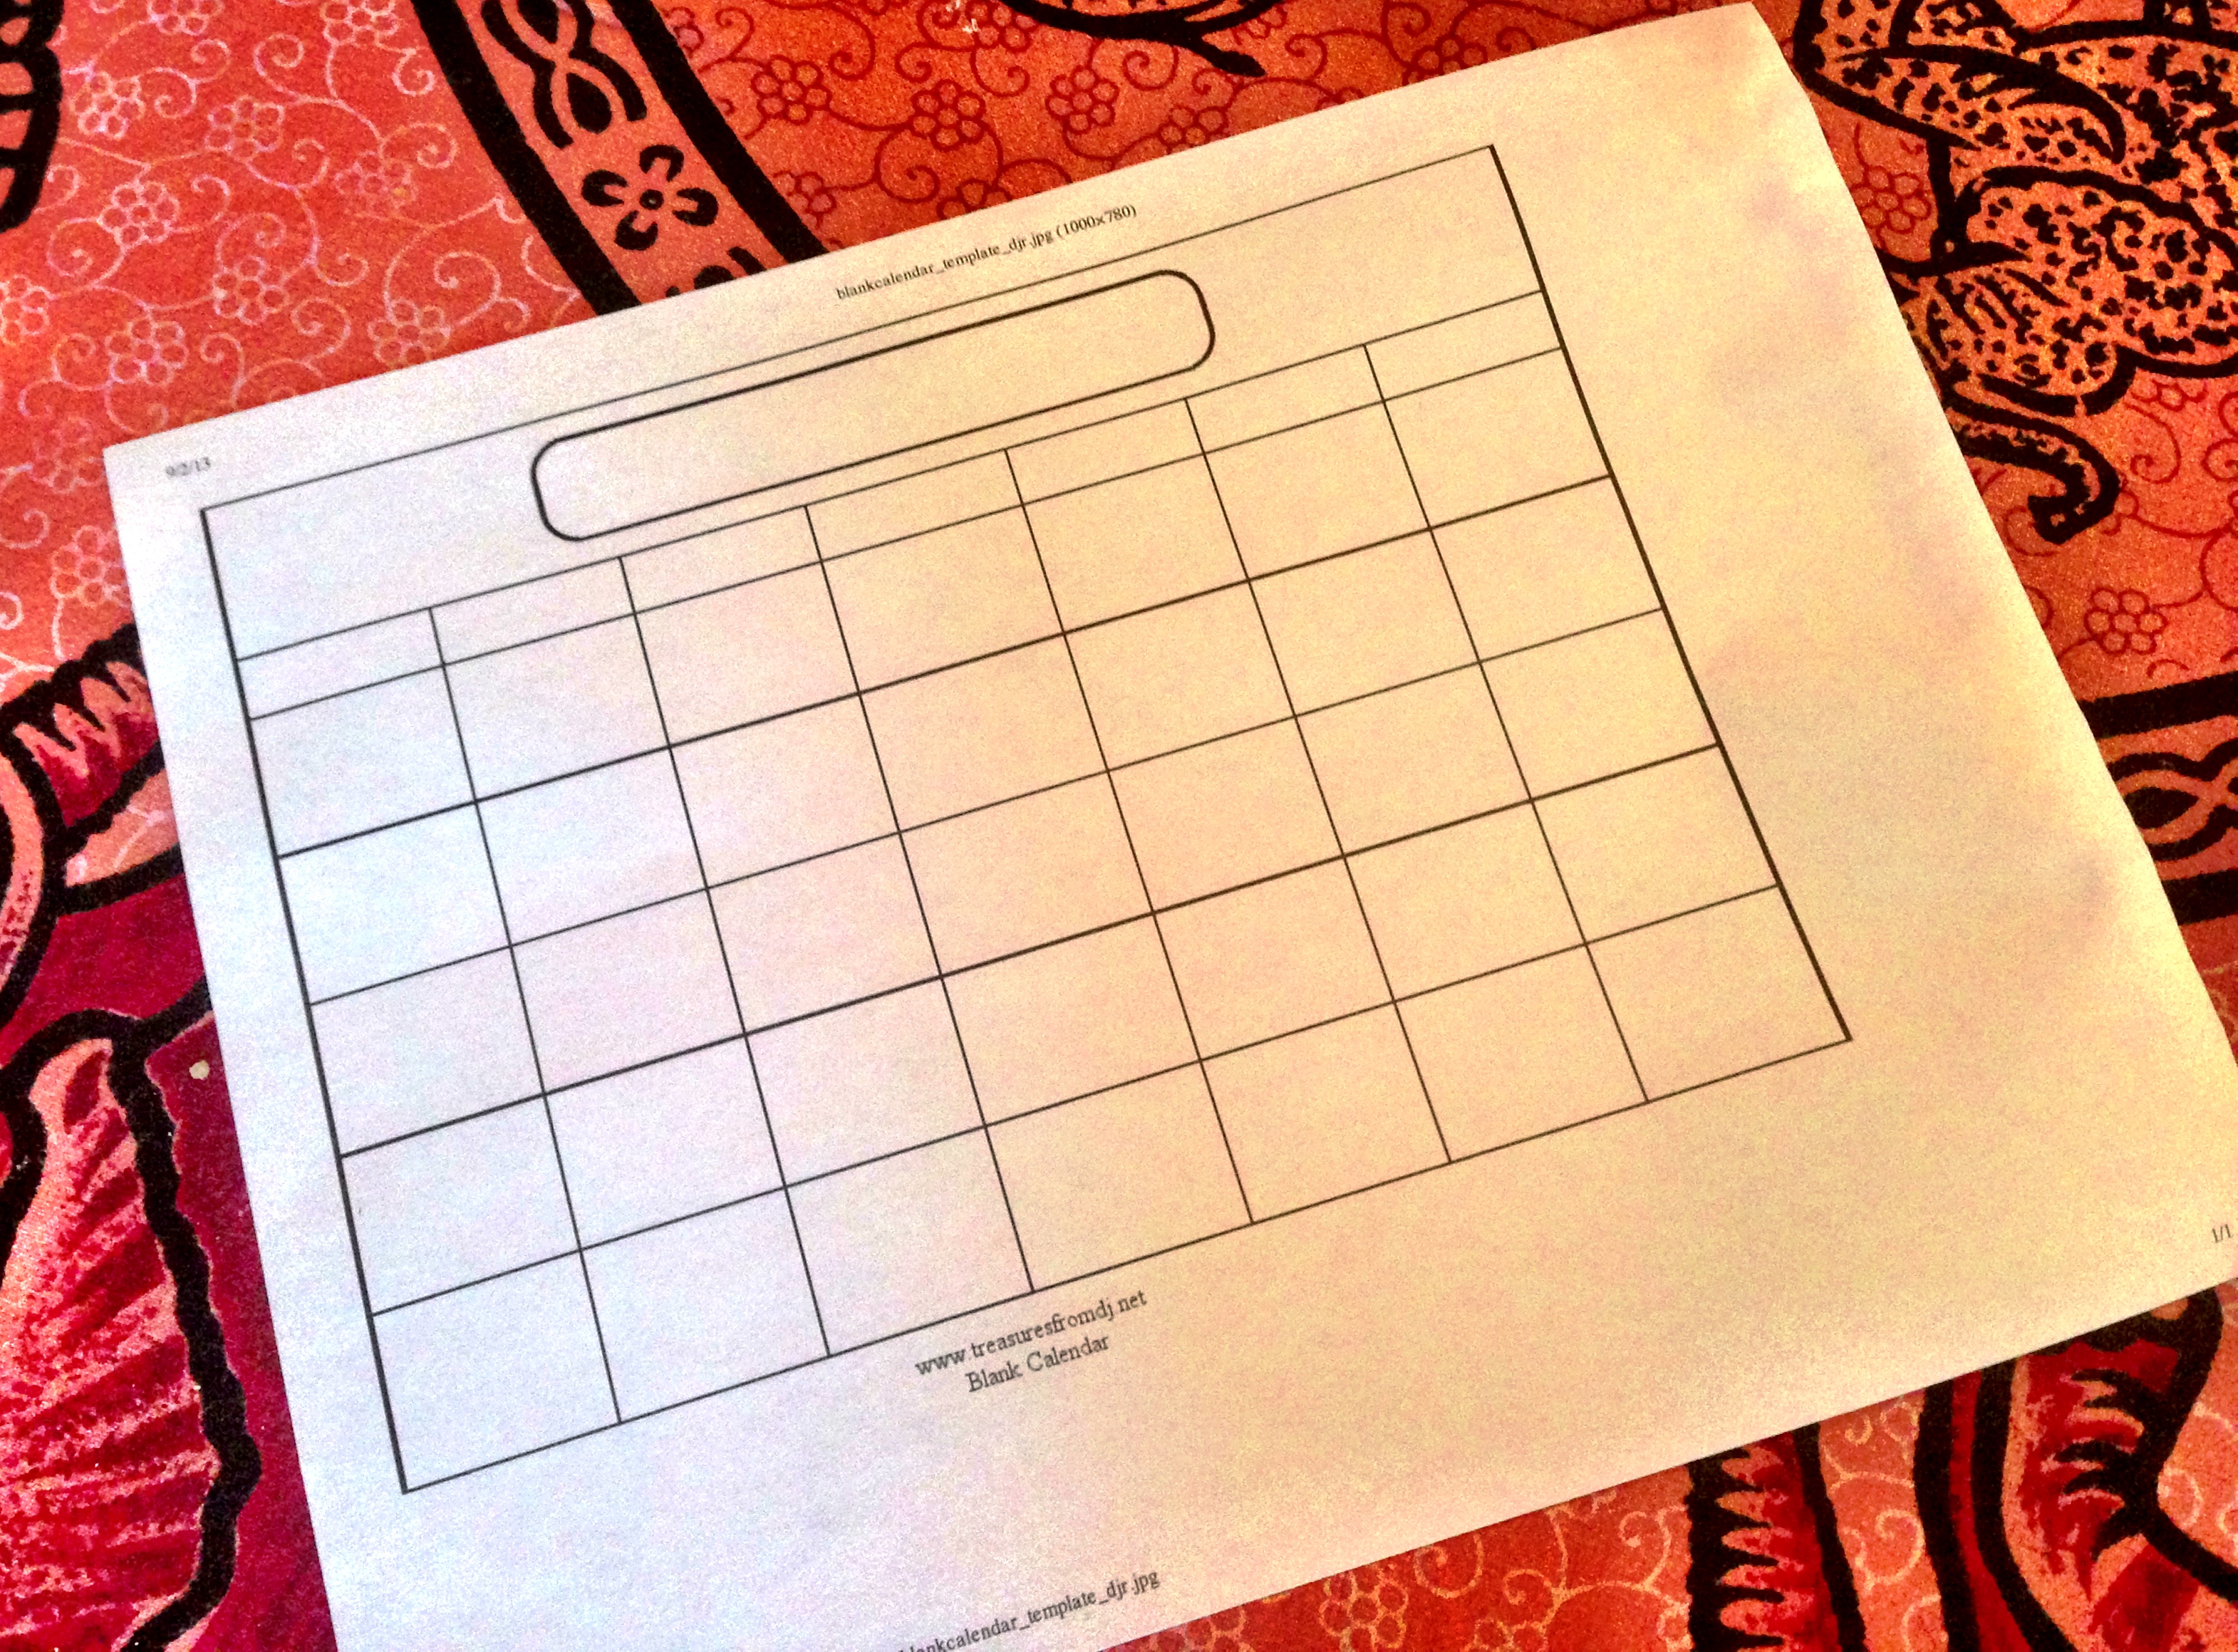
1. Print out a calendar template you like (there are many available online).
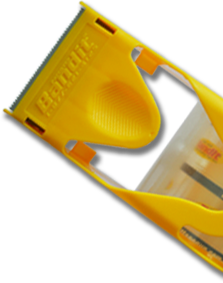
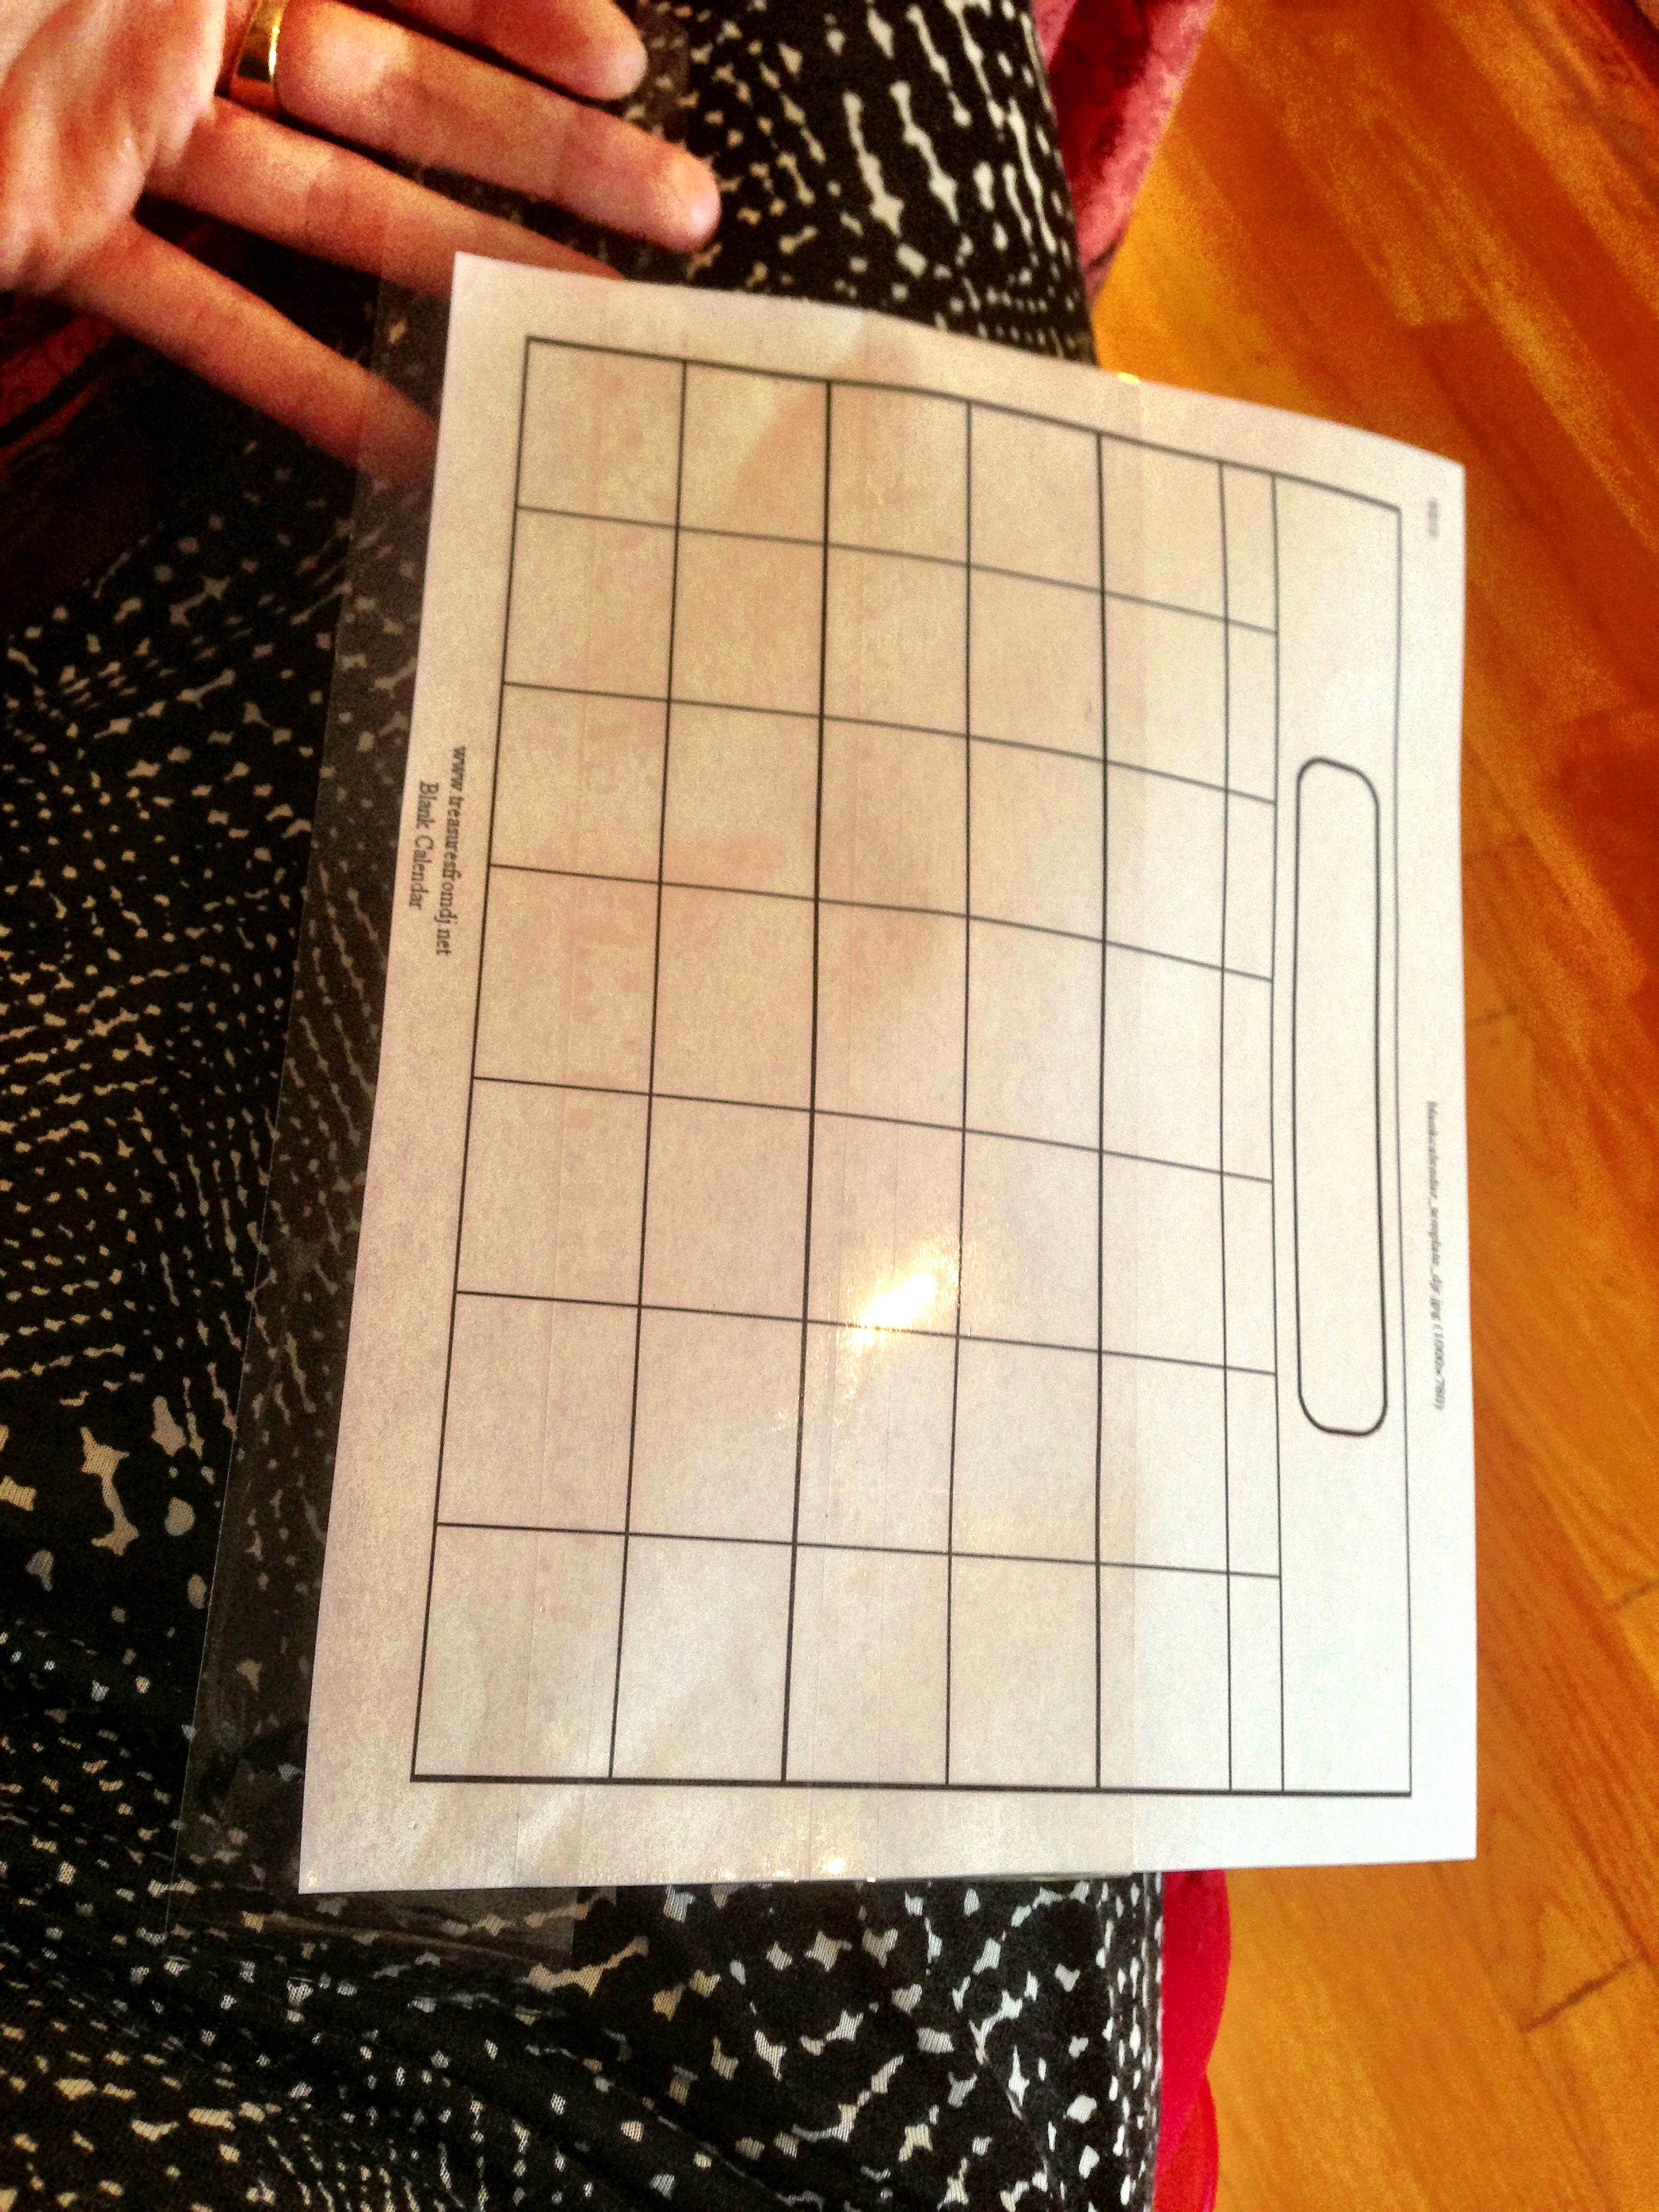
2. Using your Bandit tape gun, cut long strips of packaging tape and adhere to the front page of the calendar template
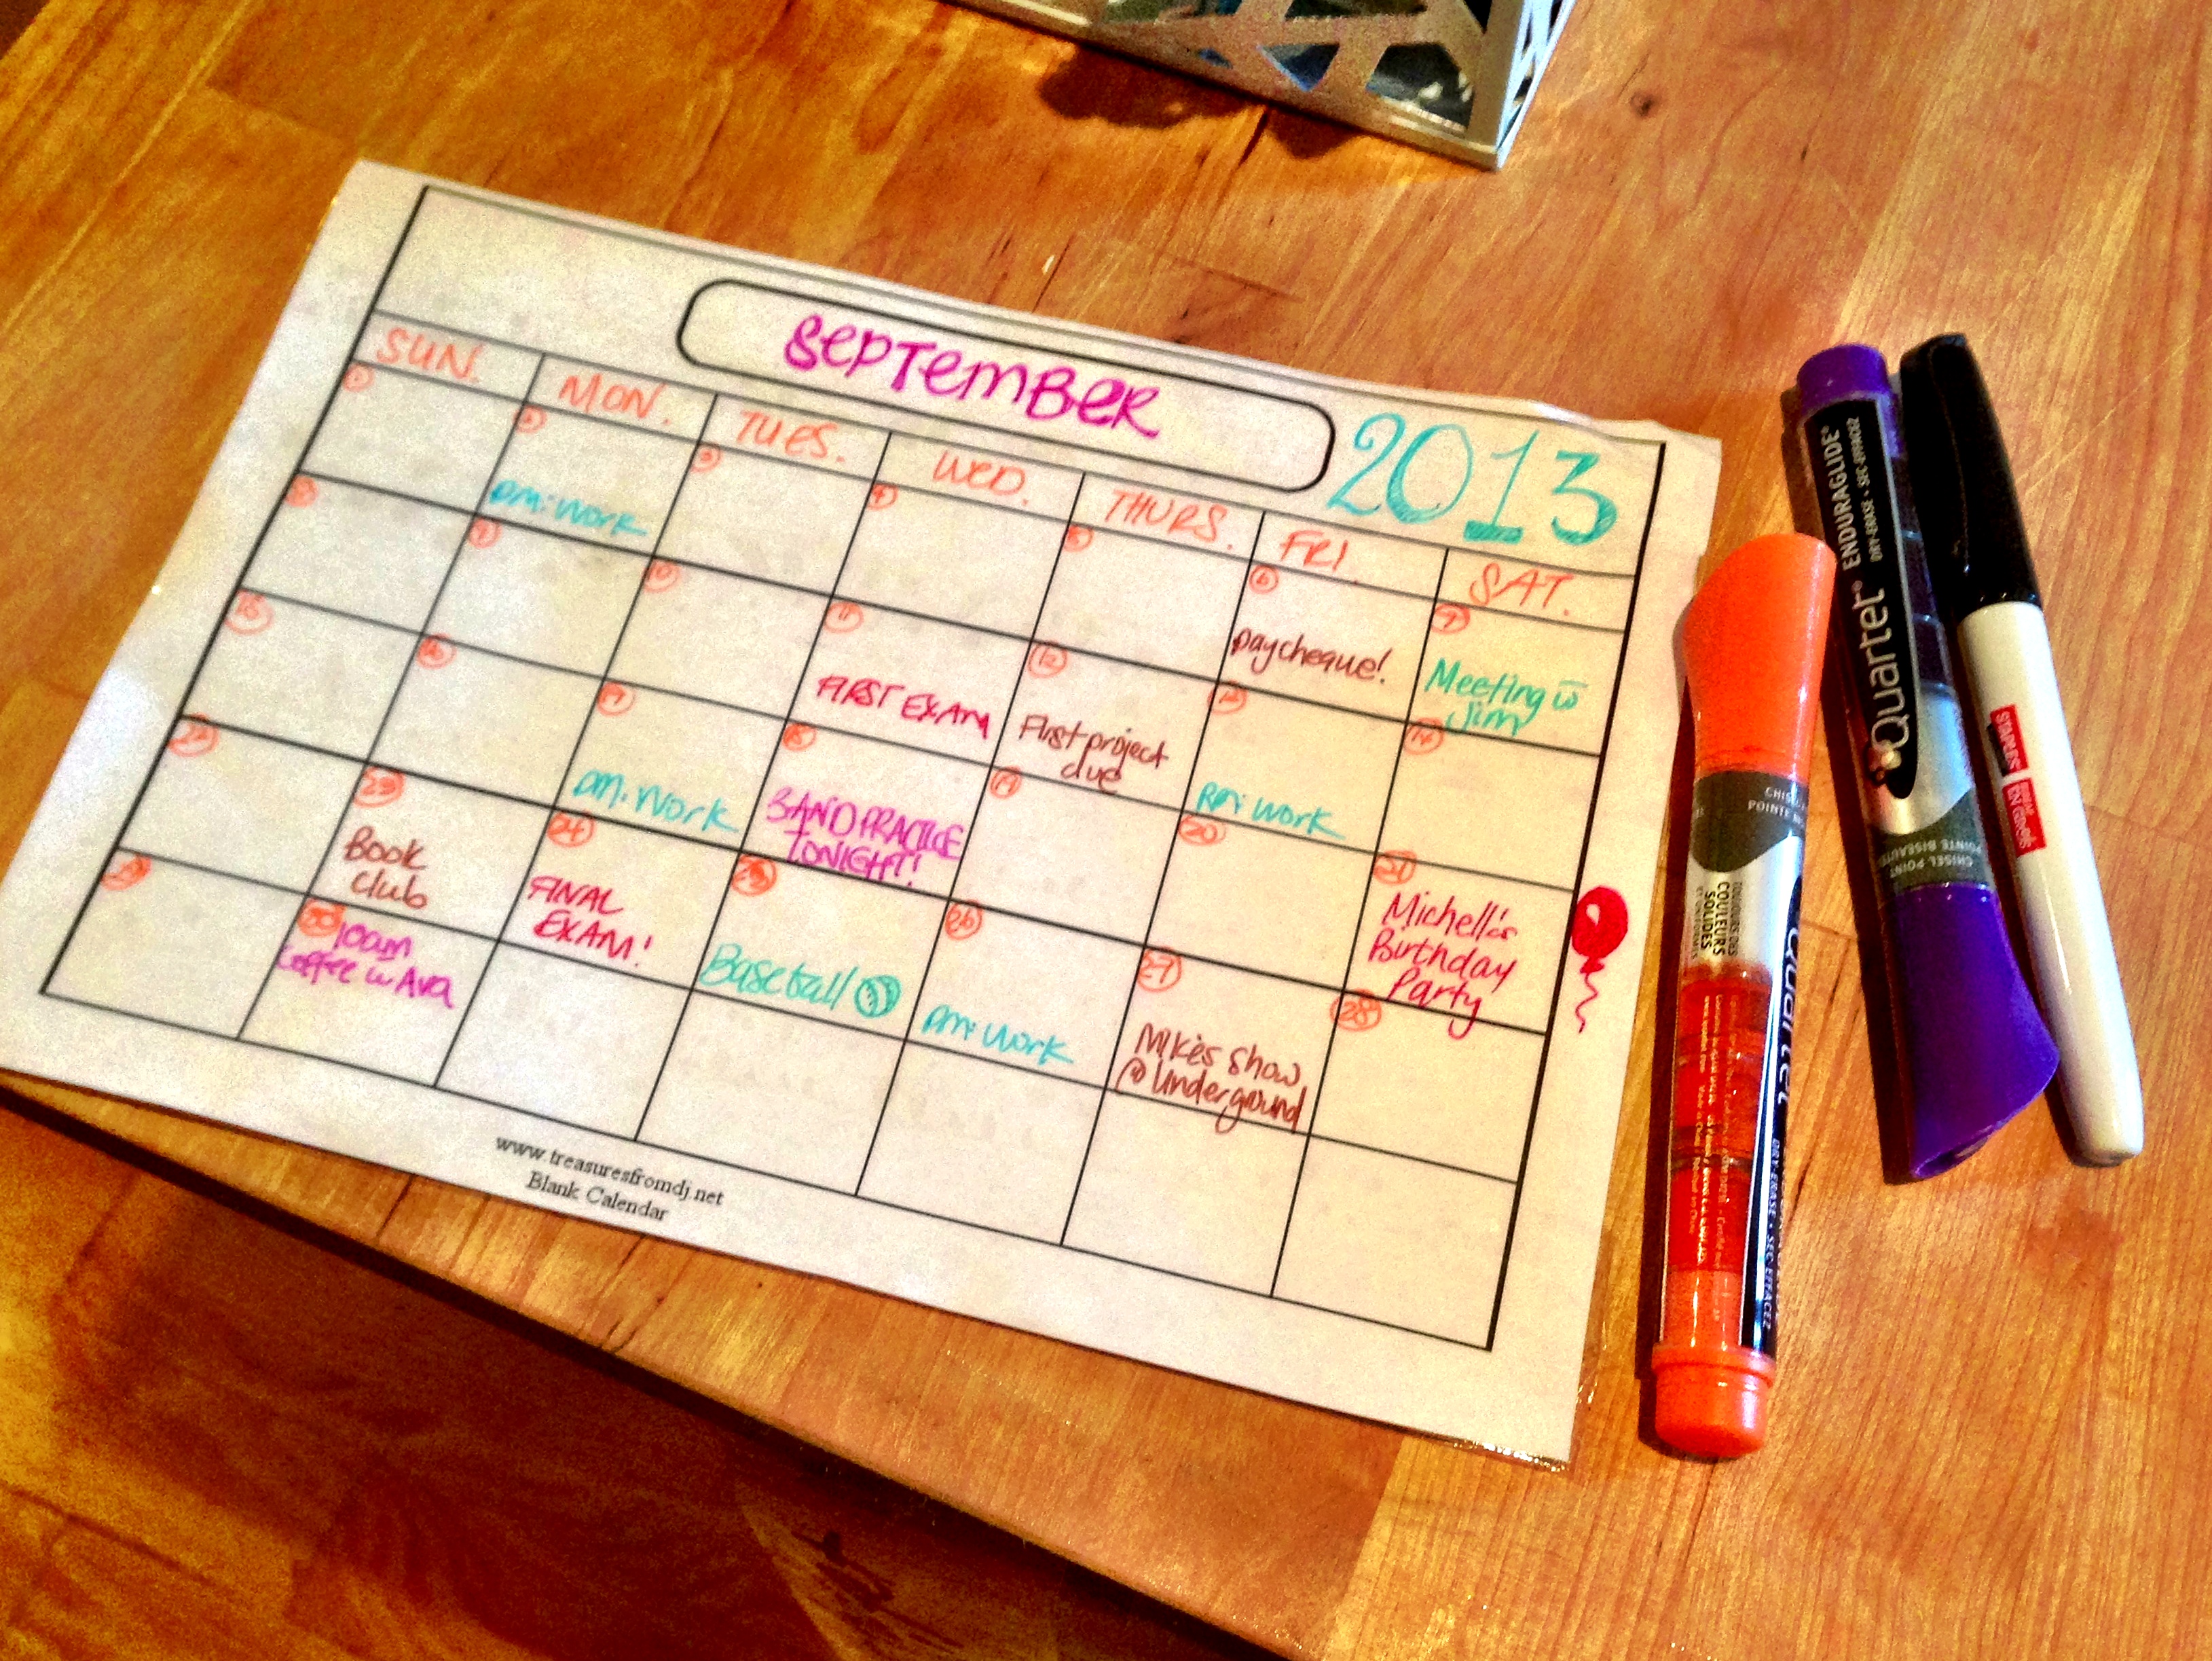
3. Using dry erase markers, write in the days of the week and numbers of the month. Then fill in with your appointments and commitments.
 4. Fix to fridge with sticky tack
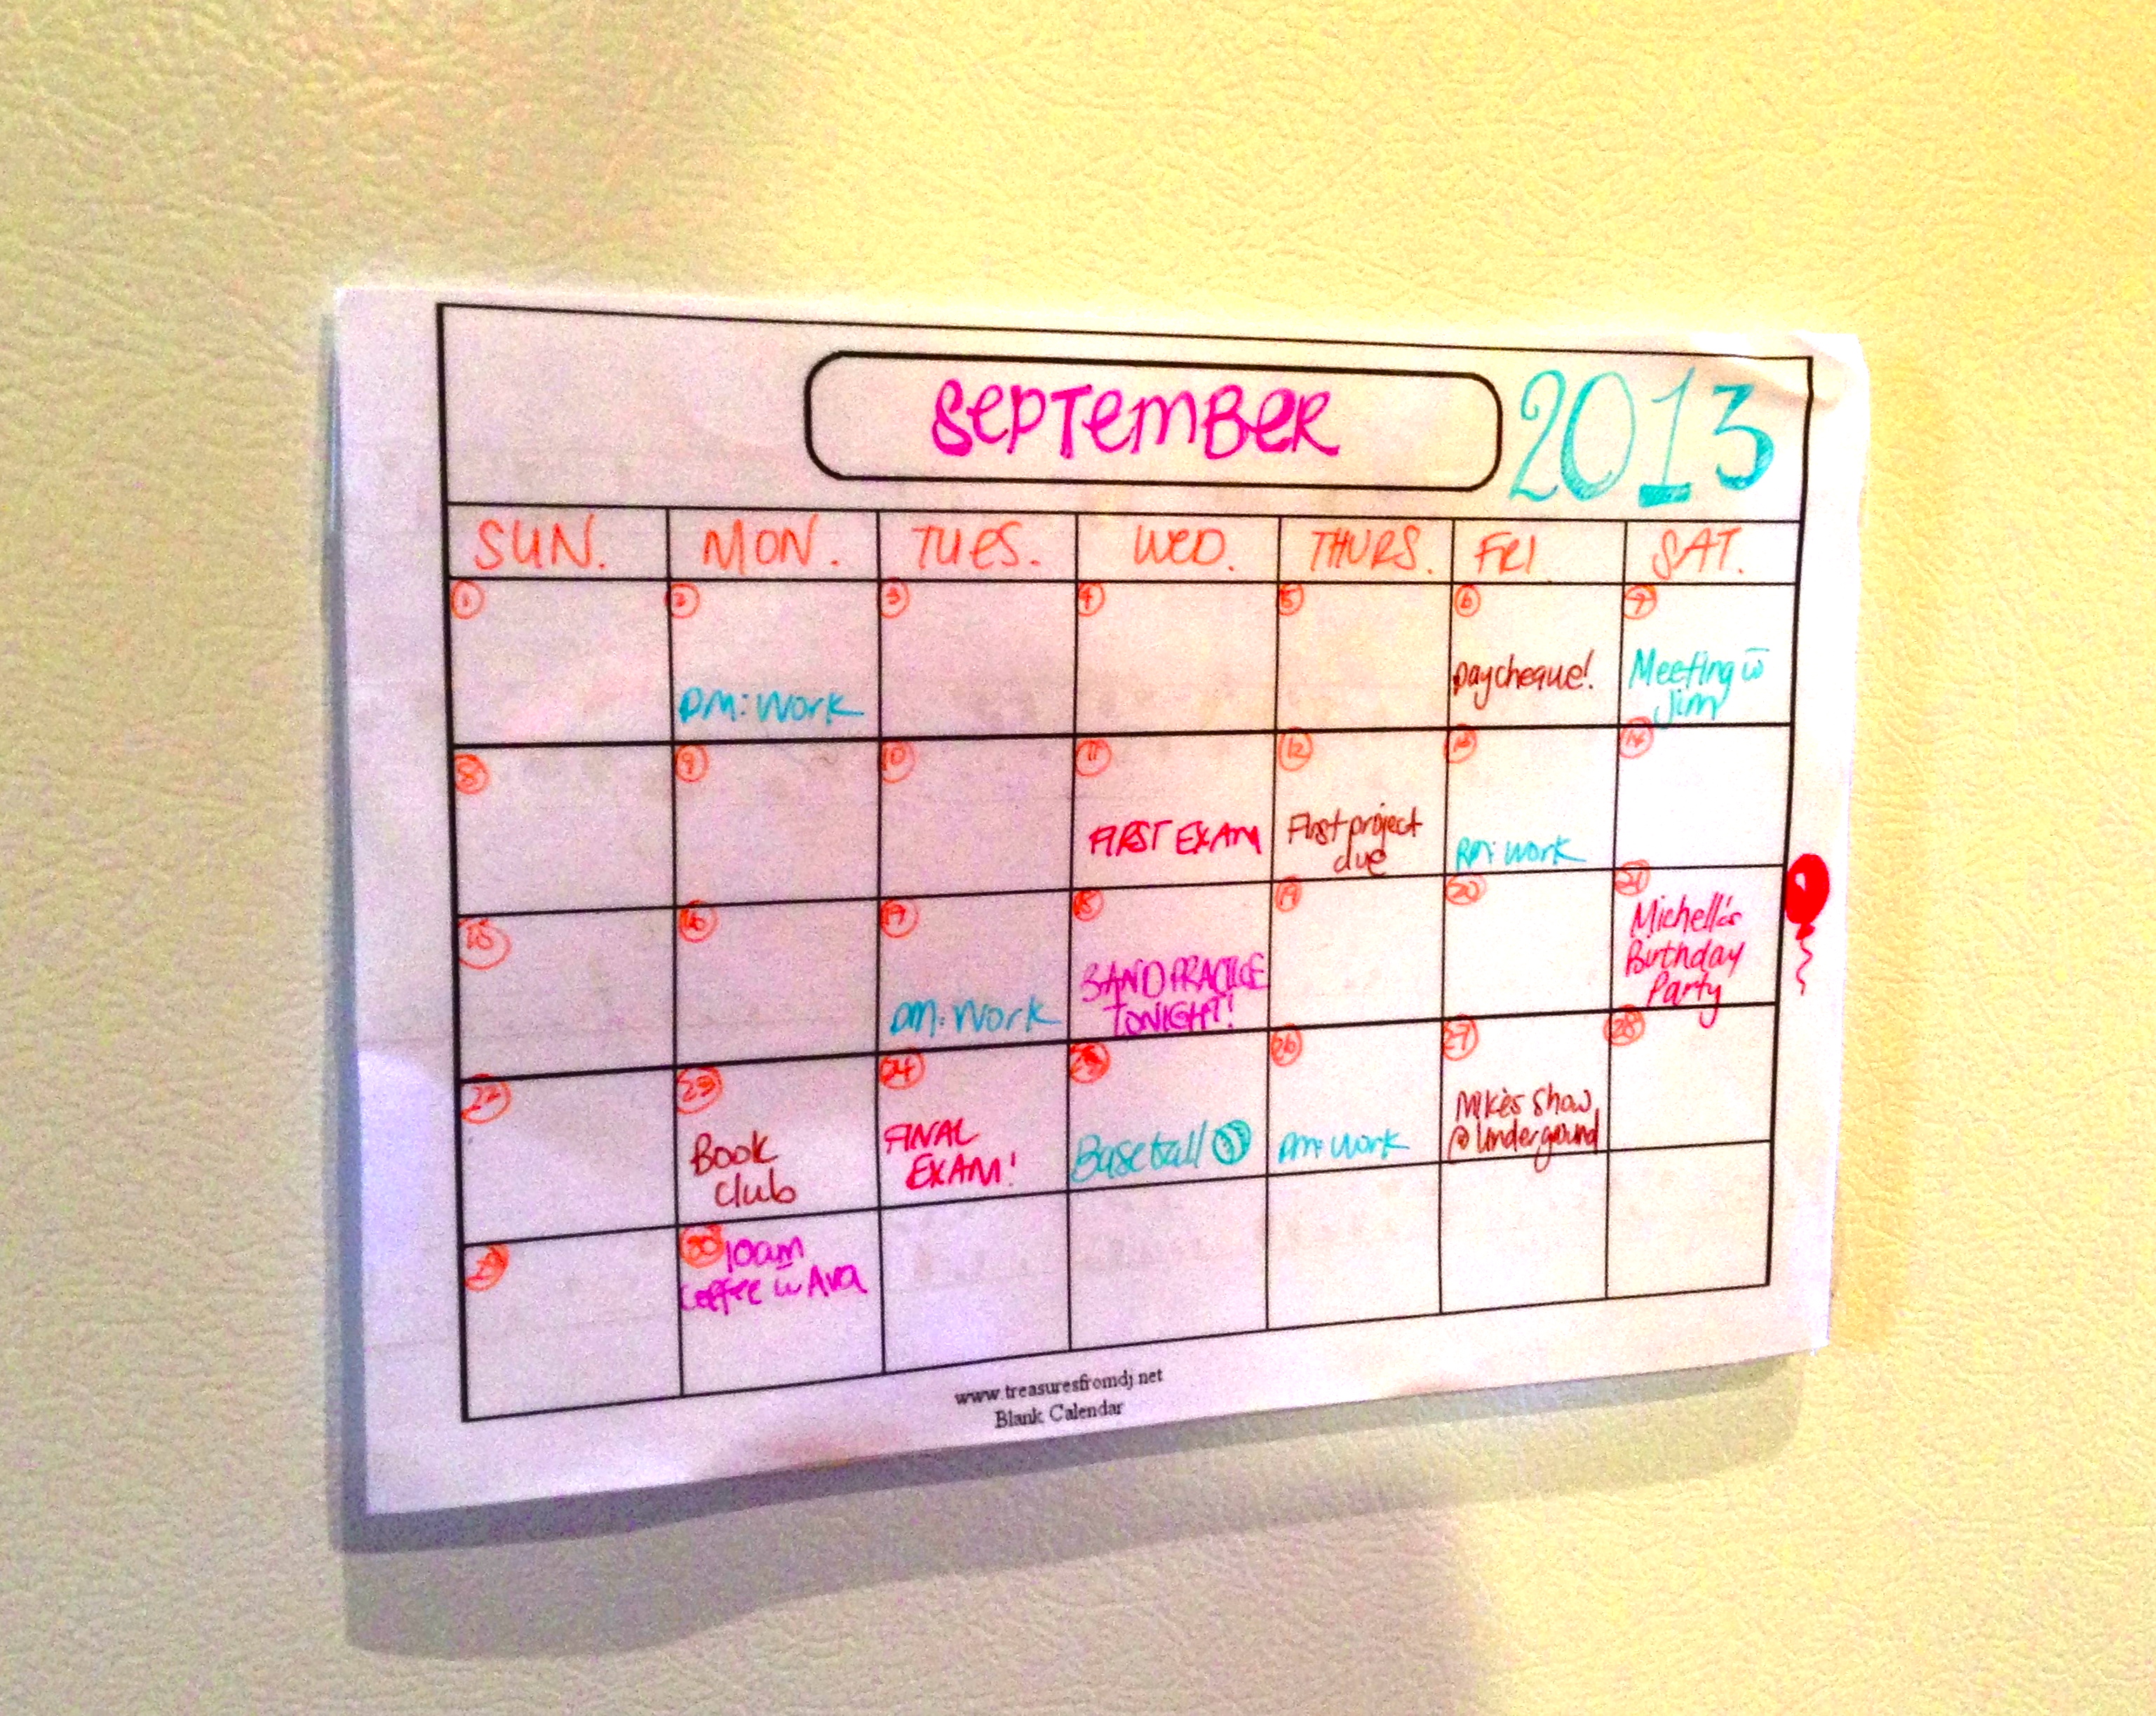
Voilà! Your very own reusable calendar!